How to Dig Out Rose Bush Easily? 12 Simple Steps
“How to dig out rose bush?” is a crucial question and the answer is super easy. You can safely remove and replant your rose bush by following simple steps. You will have to choose the right time, mark the bush’s orientation, loosen the root ball, and carefully lift it.
Here, I’ll share all the steps and tricks to make sure you dig out a rose bush without damaging it.
Key Points
- Always dig out a rose bush when it’s dormant for easier handling.
- Prune the canes to 8-12 inches to reduce energy needs.
- Water the soil a day or two before digging to soften the ground.
- Mark the bush’s orientation to reduce transplant shock.
- Dig a trench 12-18 inches away to protect the roots.
- Loosen the root ball gently without pulling too hard.
- Inspect and trim any damaged roots before replanting.
- Replant the bush at the same depth and water thoroughly.
How to Dig Out Rose Bush? (Ultimate Guide)
To dig out a rose bush, choose the correct time first. According to experts, late fall or early spring is the best time because the bush is dormant.
When the time is right, prune the canes, water the soil, and dig a trench 12-18 inches away from the plant. Then, gently loosen the root ball and lift the bush.
Here is the step-by-step explanation:
Step 1: Choose the Right Time
When I first learned how to dig out a rose bush, I didn’t realize how important the timing was. Moving a rose bush when it’s dormant, either in late fall or early spring, makes a huge difference.
You see, when the plant is dormant, it’s like it’s asleep. This means it’s not using much energy to grow, so the stress of being dug up and moved is much less.
I tried moving a rose bush in the middle of summer once, and let me tell you, it was a big mistake. The bush was full of leaves and flowers, and its roots were actively taking in water and nutrients.
The move ended up stressing the plant so much that it didn’t survive.
So, from my experience, the best time to dig out your rose bush is when it’s cold outside, and the plant isn’t actively growing. If you follow this step, you’ll increase the chance that your rose bush will survive after being moved to its new home.
Step 2: Prepare the Rose Bush
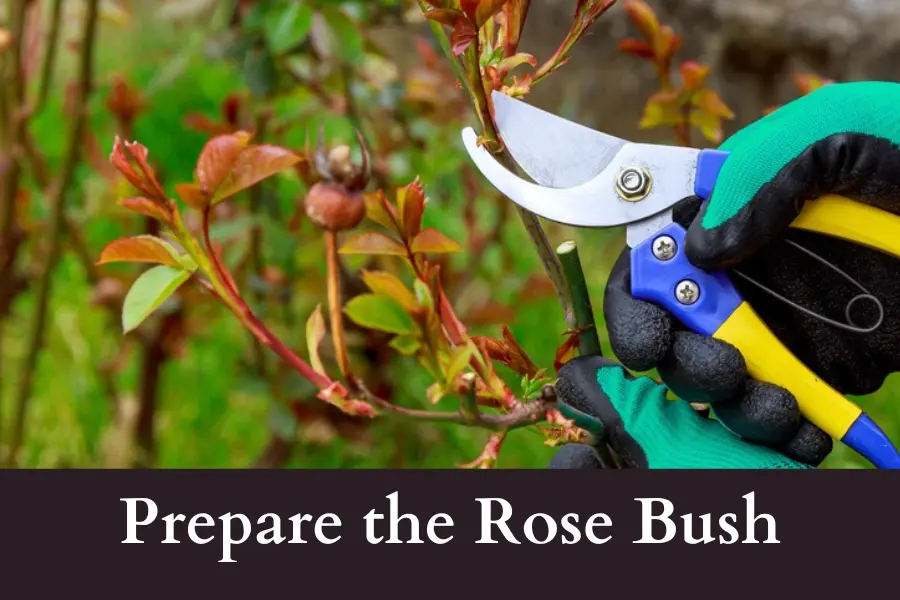
Before you start digging, you need to prepare the rose bush itself. One of the best tips I’ve learned is to prune the rose canes (the stems) down to about 8-12 inches tall. This makes the bush easier to handle, and it also reduces the amount of energy the plant needs during the move.

I remember the first time I tried to dig out a rose bush without pruning it back. The branches got in the way, and I ended up damaging more of the plant than I needed to.
Plus, the rose bush was using a lot of energy to keep all those leaves alive, which made it harder for the plant to recover once I moved it.
There’s a Pruning chapter in the Encyclopedia of Rose Science. According to it, While you’re pruning, it’s also a good idea to remove any dead branches. This helps the plant stay healthy and makes it easier for the rose bush to focus on growing once it’s been replanted.
Step 3: Water the Soil
Now, water the soil around the rose bush a day or two before you plan to dig it up. I didn’t always do this when I first started gardening, and trust me, trying to dig through dry soil is no fun. It’s hard work, and it makes the process much more difficult than it needs to be.
Moreover, moist soil helps protect the roots of the rose bush. When the soil is wet, it holds together better, which means that the roots are less likely to break when you’re digging them up.

I’ve noticed that the rose bushes I’ve moved after watering the soil always seem to do better in their new spots.
So, give the soil a good soak, and you’ll save yourself a lot of effort when it’s time to dig.
Step 4: Mark the Rose Bush’s Orientation

Marking the orientation of the rose bush can make a big difference when you replant it. I always mark which direction the rose bush is facing—north, south, east, or west—before I dig it up. I use a small flag or even a stick to remind myself.
Why is this important? Well, roses get used to the way they’re positioned in your garden. If the rose bush has been facing a certain way for years, it’s gotten used to the light and shade patterns.
When you replant the rose bush in a new location, it helps to keep it facing the same way. This reduces transplant shock and gives the plant a better chance to adjust quickly to its new environment.
I didn’t know this trick at first, but once I started paying attention to how the rose bush was oriented, my transplants did much better.
Step 5: Dig a Wide Trench Around the Plant
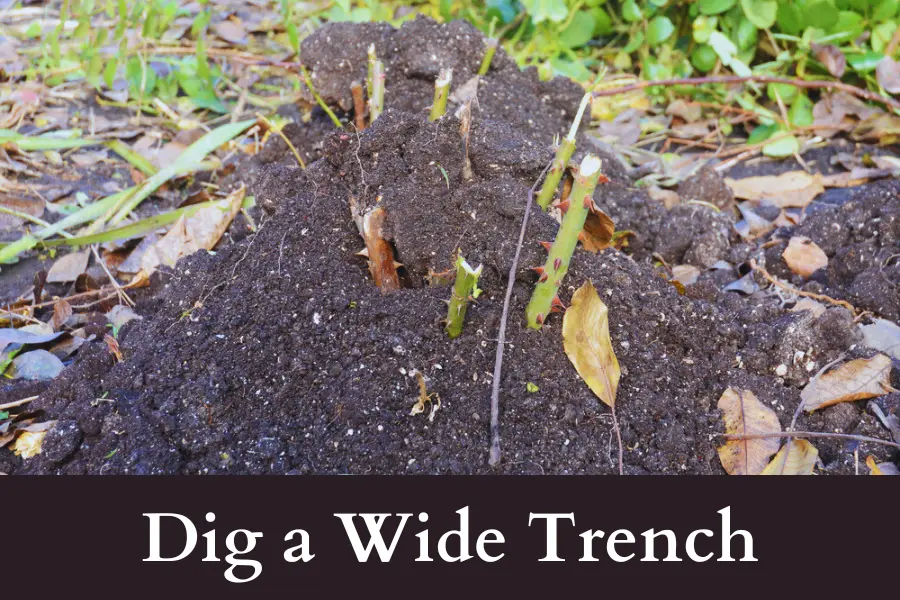
When it’s finally time to start digging, the key is to give yourself plenty of room. Start by digging a circular trench about 12-18 inches away from the base of the rose bush.

I’ve tried digging closer, and I ended up cutting through too many roots, which made it harder for the plant to survive after I moved it.
Digging wide lets you capture more of the root system, which is important if you want to give the rose bush a good chance of thriving in its new spot.
As you dig, go down about 12-15 inches. Rose bushes have deep roots, and you want to get as much of them as possible without cutting them off too early.
I like to dig at an angle toward the center of the plant. This helps me get under the roots, so I can loosen the plant without damaging it too much. Here, I also add some perlite and some organic matter to enrich the soil.
After making a hole, you may wonder about improving soil drainage for replanting. Here’s a look at whether you can use cat litter as a substitute for perlite and how it helps plants thrive.
Step 6: Loosen the Root Ball
Once you’ve dug your trench, it’s time to start loosening the root ball. This part can be a bit tricky, but with a little patience, it’s totally doable. Most people prefer using a garden fork to gently remove the soil away from the roots.
Don’t rush it. I’ve found that if I try to yank the bush out too quickly, I end up breaking a lot of the roots, which makes it harder for the plant to recover later.
As you work the soil away from the roots, you can start to wiggle the bush gently. This helps loosen the roots from the soil without causing too much damage. But again, don’t pull too hard! The goal is to free the root ball while keeping as much of it intact as possible.
Step 7: Lift the Bush Out
This is the moment you’ve been working toward: lifting the rose bush out of the ground. Once the root ball is loose, carefully lift the entire bush, including the root ball.

In this step, remember this – Keep as much soil around the roots as possible. This protects the roots and helps the plant adjust more easily once it’s replanted.
If the rose bush is large, you might need some help. I like to use my shovel to support the bottom of the root ball while lifting the bush out of the ground. This helps keep everything stable and reduces the risk of breaking the roots.
Step 8: Inspect the Roots
Now that the rose bush is out of the ground, it’s time to inspect the roots. This step is important because healthy roots are the key to a successful transplant.

Look for any damaged or broken roots, and trim them off using clean, sharp pruning shears. This helps prevent any diseases from spreading and gives the plant a fresh start.
Keep the healthy roots intact, and make sure they stay moist while you prepare the new planting spot. If the root tissues get dry, the plant will struggle to take hold in its new location.
Step 9: Make a Decision – Replant Immediately or Store Properly
If you’re ready to replant the rose bush in its new location, do it as soon as possible. The faster you get the plant back into the ground, the better its chances of survival. However, if you can’t replant right away, you’ll need to store the rose bush properly.
I’ve had to do this a few times when I wasn’t quite ready to plant, and here’s what worked for me:
Wrap the root ball in moist burlap or keep the plant in a shaded, cool area. Make sure to water the roots regularly to keep them from drying out.
Step 10: Prepare the New Site
Before you replant the rose bush, you need to prepare the new site. Note that the hole should be about twice as wide as the rose bush’s root ball. According to experts, this much space gives the roots plenty of room to spread out.
I always mix in some compost or well-rotted manure at the bottom of the hole. This enriches the soil and gives the rose bush a good start.
Step 11: Replant the Rose Bush
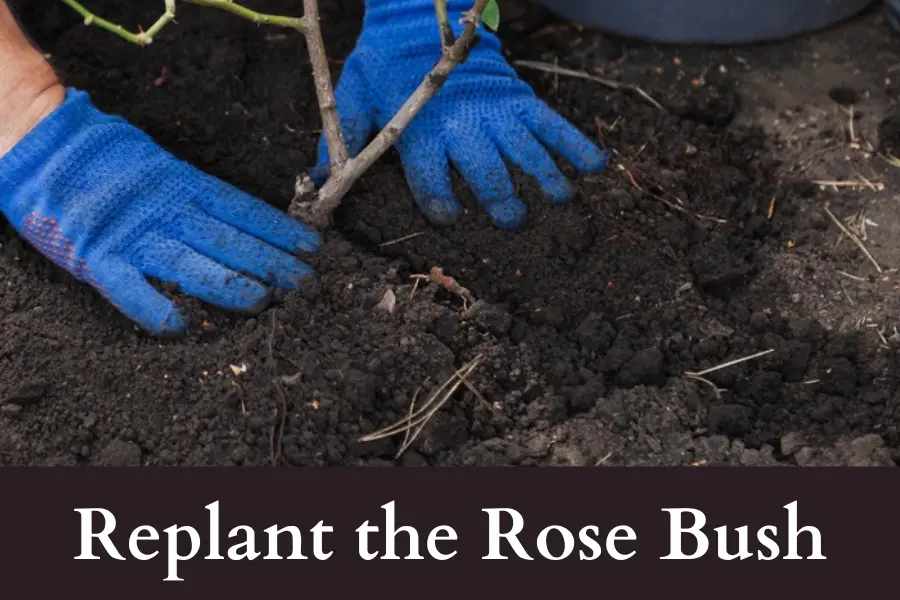
When it’s time to replant, position the rose bush in the center of the hole. Make sure it’s at the same depth it was planted before. Fill the hole gradually with soil, firming it down gently around the roots to remove any air pockets.

I like to water the rose bush as I fill the hole. This helps the soil settle and keeps the roots hydrated.
Step 12: Water Thoroughly
After you’ve replanted the rose bush, give it a good soak. Watering thoroughly settles the soil around the roots and helps the bush grow.

In this step, you can also add some mulch to the soil to conserve moisture and protect the roots. That’s all.
After replanting your rose bush, make sure to protect it from the sun. Here are super easy tips on how to keep your plants from burning during the transition.
Conclusion
These are the key steps for digging out your rose bush:
- Water the soil before digging to protect the roots.
- Dig a wide trench and loosen the root ball carefully.
- Prepare the new site with compost and plant at the same depth.
- Inspect the roots, trim damaged ones, and replant quickly.
Following these steps will give your rose bush the best chance to thrive in its new home. You’ve got this!


